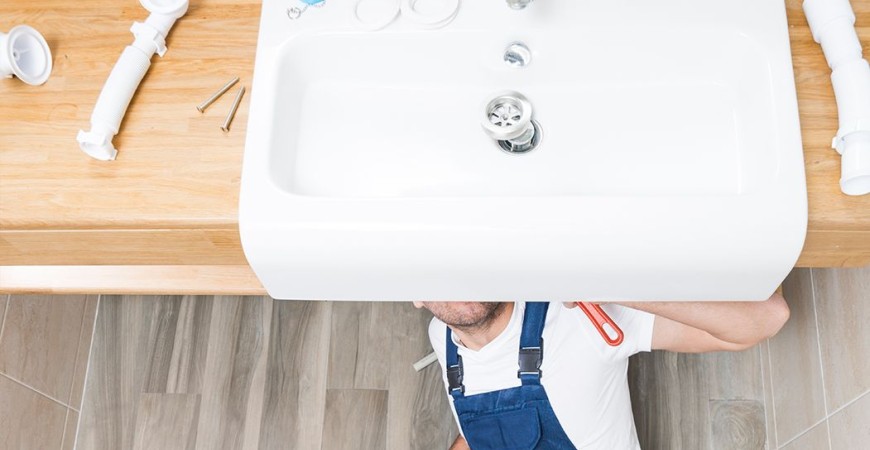
How to install a do-it-yourself wall-hung sink
If you are a little familiar with DIY, installing a wall-mounted sink will be child's play for you!
As with the installation of any sanitary fixture, the washbasin must also be positioned on the base of where the connections for loading and unloading the water are located.
Unless we are carrying out a complete renovation of the bathroom (which would allow a revolution of the systems and the free positioning of the various elements of the bathroom), in fact, it is precisely the connections that determine where we can position the sink.
As a first consideration, we must remember that installing a wall-mounted sink involves removing the brackets from the pre-existing sink (if any) and positioning the new brackets correctly with respect to the holes in the new sink.
In most cases, however, there are no real brackets but sturdy threaded rods are sufficient which offer simplicity of fixing in the masonry with a chemical plug.
The position of the connections, of course, also determines the type of faucet that we can install: if the connections are in fact high (above the sink surface), we will necessarily have to install a wall-mounted mixer and, consequently, the sink will not it must be equipped with a tap hole; if, on the other hand, as happens in most light renovations, the connections are at the bottom (under the sink) it will be necessary to choose a single-hole mixer, which must be installed directly on the sink top, suitably pre-drilled.
The hole in the ceramic of the sink, in fact, must allow the passage of the connection hoses which will join the body of the mixer to the hot and cold water inlet connections.
Steps for installing a wall-mounted washbasin
Below we see the various steps for the do-it-yourself installation of a wall-mounted washbasin with a single-lever mixer on the washbasin top.
1- Apply the shut-off valves to the wall to the hot and cold water connections for connecting the hoses of the basin mixer.
2- Insert the mixer into the hole in the sink. It is preferable to carry out this operation with the sink still on the ground, so as to be able to work more easily, by passing the hoses and the fixing bars through the hole.
3- Turning the basin, tighten the nuts (or the nut) of the mixer in the underlying part in order to block the tap firmly without choking the pipes.
4- Install the drain (it can be supplied with the mixer or purchased separately) which is made up of an upper part and a lower part held together by the special gaskets supplied.
5- After having correctly applied the threaded rods to the wall, based on the distance between the holes for the support on the washbasin, the washbasin is positioned in its seat by interposing a sheet of polyurethane foam to prevent rubbing between the washbasin and the tiles.
6- Tighten the basin fixings with the appropriate nut in the lower part of the basin, taking care to position a rubber washer under the steel one to prevent the iron from coming into contact with the ceramic, avoiding any breakage at the time of fixing.
7- Screw the hoses to the shut-off cock fittings and connect the drain to the drain siphon which, in turn, must be inserted into the hole in the wall of the drain system.
8- Trim the polyurethane sheet between the sink and the wall and seal the gap with silicone to prevent water from dripping into the back of the sink.
As you can see, installing a wall-mounted washbasin does not require any particular skills, if not a minimum of familiarity with the main do-it-yourself operations. Take a look at the wall-mounted washbasins available on Acquaclick and choose the right model to renovate your bathroom with style.


